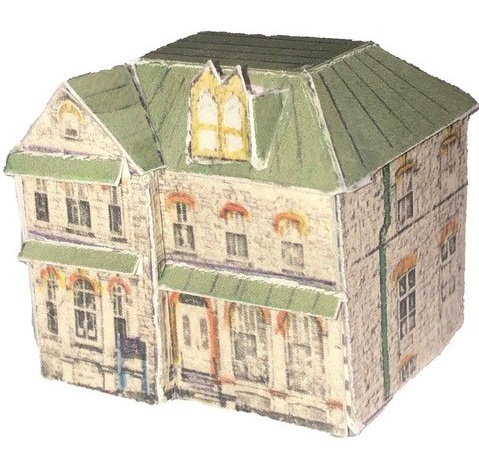
For the 150th anniversary of Cedarhedge, the old Warden’s Residence where Canada’s Penitentiary Museum is housed, we’ve put together this special postcard to assemble your own copy of the Museum. You can also download the instructions here.
To assemble this model of Cedarhedge you will need white glue, scissors, and a ruler. That’s it!
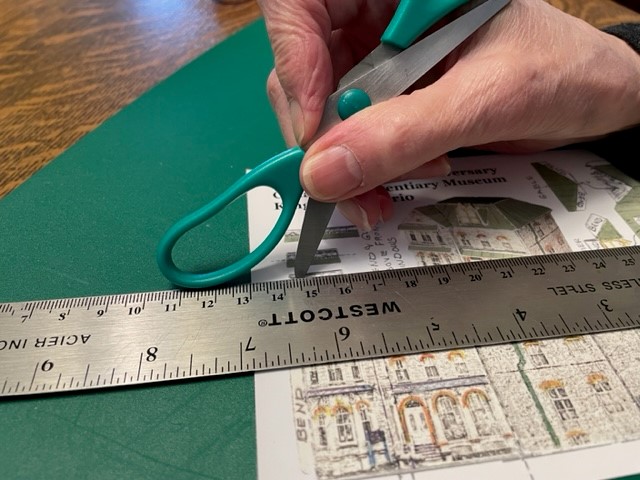
The first step is to score (or crease) all the parts, especially the small ones, on the postcard where you will be bending the pieces.
Use scissors (or the back of a knife) and a ruler to make a crease along the dotted fold lines.
It’s a good idea now to prepare the Dormer for installation later.
Locate the part and cut it out and fold it as shown into a box shape.
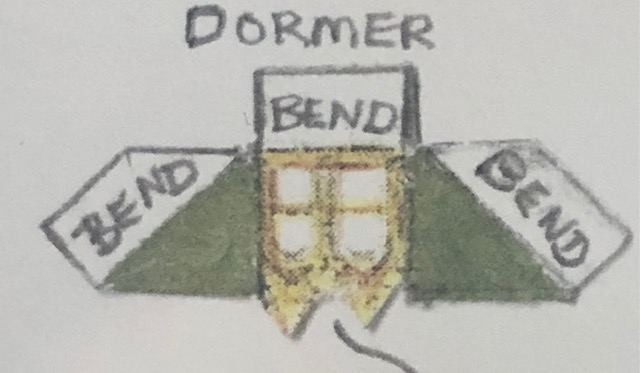
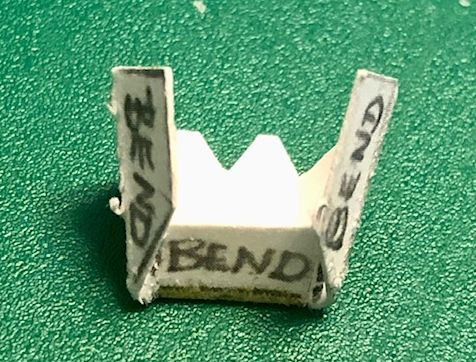
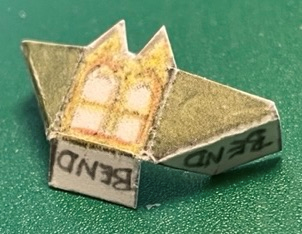
Glue the tabs together where they overlap and set aside.
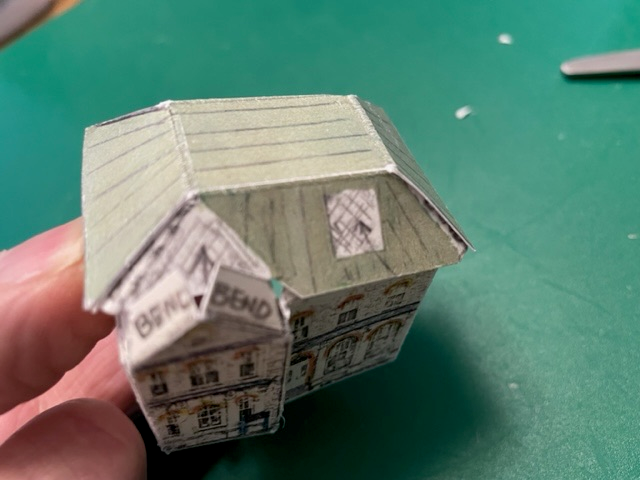
Then carefully cut around the two large pieces–the four WALLS and the ROOF. You will use white glue on the tabs marked “BEND” to join pieces.
The WALLS should be done first. The front wall needs to be folded to make the Bay. There are two dotted lines close together just left of the front door.
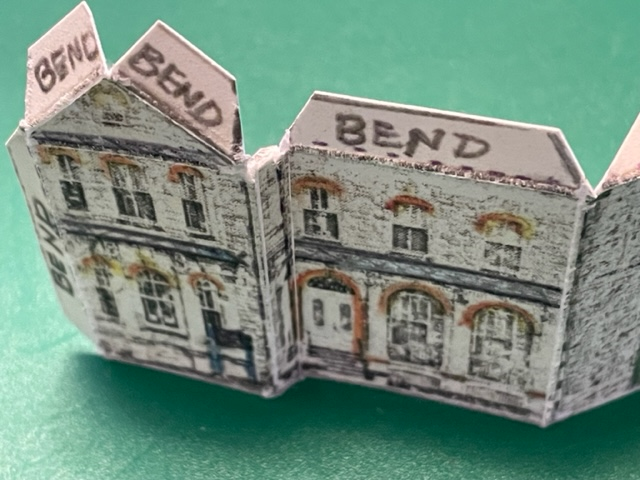
Bend forward (towards you) on the right line; bend back (away from you) on the left line.
The Bay then juts out when the four walls are glued together.
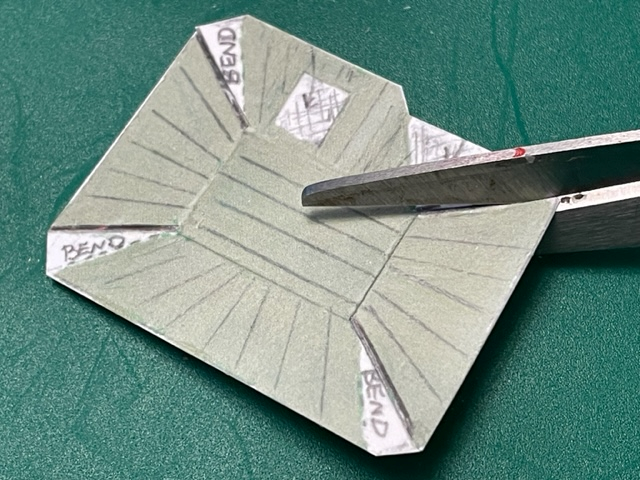
Cut out the ROOF next. Notice there is a tab marked “BEND” at each of the four corners. For each tab, CUT on one solid line and BEND on one dotted line. The four cuts will be on the end pieces of the Roof; the BEND tabs stay with the front and back slopes of the roof.
This is a mansard roof with a flat top. Be sure to score around the rectangle in the middle that is the flat top of the roof. Bend the four sloping sides at the edges of this flat part of roof. Then, shape the roof and glue the tabs to make the corners.
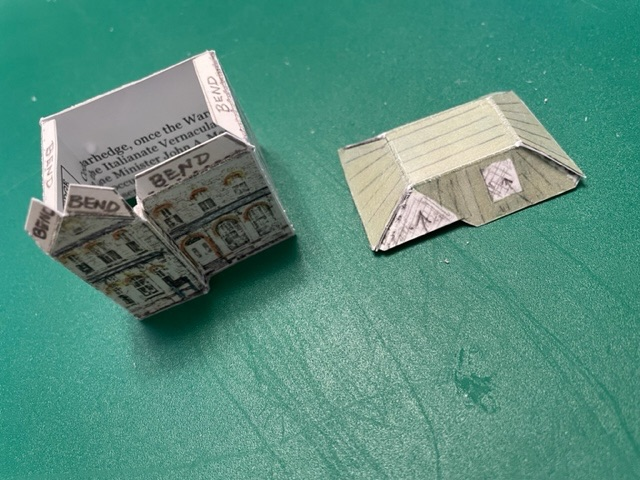
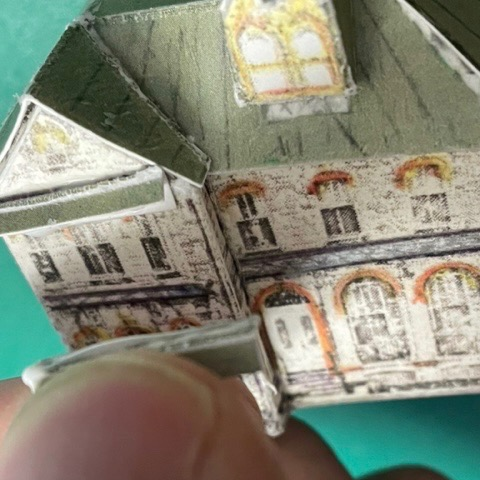
Once the glue on the ROOF has dried, it can be placed on top of the WALLS, using the tabs on the walls to glue it in place. This will be a bit tricky, but try to keep the Walls square and fit the Roof to get an even overhang. Notice that there will be a gap at the front where the Gable goes. You can use your fingers inside to press the Wall tabs against the Roof when gluing.
Now all that remains is to put the smaller parts in place. Installing the triangular Gable above the Bay takes some care. Bend the tabs almost all the way back and fold the Gable down the middle. Put a little glue on Gable tabs and on the tabs at the top of the Bay wall to hold it in place. Everything should line up correctly. The peak of the Gable should form a straight line with the fold at the left side of the Roof.
Now you can glue on the little box-like Dormer which you have previously prepared and set aside. Position it in the white space on the Roof and glue it so that the top of the Dormer is about even with the flat part of the roof. If you like, you can cut a little piece from the leftover postcard to make a roof to cover the open dormer.
There are three small roof pieces, like awnings, that are bent back almost flat and then glued above the front windows. Fold them over the edge of a scissors blade to bend them almost flat. The two small roofs go above the windows on the Bay; the larger one goes above the front door and verandah.
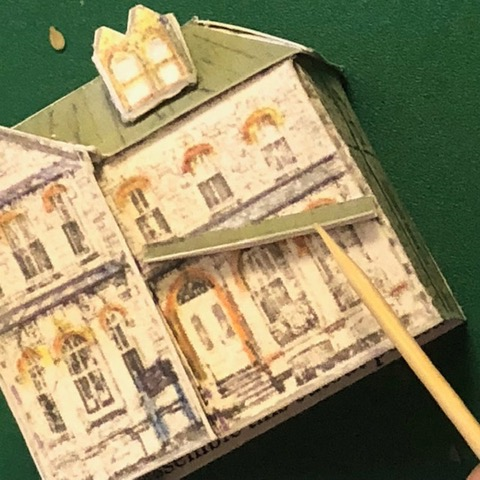
There! You’re done. You might have to trim off some tabs that are showing or re-glue any pieces that didn’t quite stick. A toothpick is useful to put some glue in between the parts.